Safely Thawing Frozen Foods
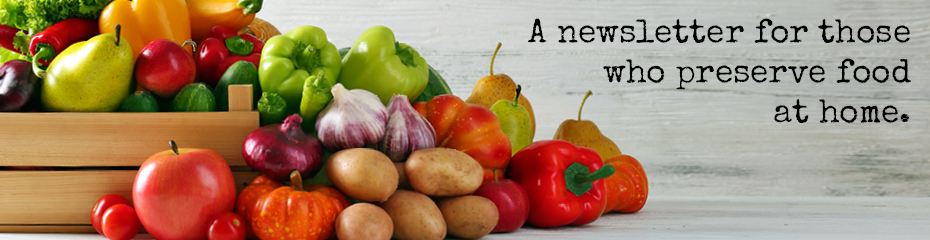
 We are well into winter and it is time to use the fresh produce you froze during the harvest months! Freezing produce, fish, meat, and poultry, is a convenient way to preserve food. When thawing frozen food, it is important to limit the amount of time it is in the temperature danger zone - the range between 41°F and 135°F that supports bacteria growth. Minimize risk by using these methods to safely thaw frozen food:
- In the refrigerator. Place the food in a shallow dish to catch any leaks. As the food thaws, its internal temperature will never exceed 41°F, keeping it out of the temperature danger zone. Once thawed, prepare the food within 2 to 3 days.
- In cold water. Limit to foods that can be thawed in less than 4 hours. Place the frozen food in a leak-proof container or plastic bag. Place the food under cold running water or submerge in cold water. If submerging the food, change the water every 30 minutes to keep the temperature cool. Foods thawed in cold water may thaw unevenly. The outside temperature will increase quicker than in the center. The outside temperature may increase to above 41°F, which is why it is important to limit the time needed for thawing. Once thawed, cook or use the food immediately.
- In the microwave. Cook food immediately after microwaving. Microwaves can heat food unevenly. Parts of the food may be heated into the temperature danger zone while other parts remain frozen. Cook foods to their safe minimum internal temperature.
- As part of the cooking process. Some foods can be cooked directly from frozen without impacting quality, such as adding vegetables to a soup.
While it is safe to eat produce while it is still frozen, such as using frozen berries in smoothies, remember to cook thawed produce before adding them salads, salsas, dips, or other foods that won’t be cooked. Pre-freezing treatments like blanching and dipping in an acidic solution do not kill bacteria. Cooking the produce before adding to a recipe minimizes risk.
Pick a Peck of Pickles
 Pickled vegetables and pickle-flavored foods have surged in popularity in recent years. Have you noticed more restaurants adding fresh pickles as garnishes on sandwiches and entrées? Have you tried pickle-flavored crackers, chips, pretzels, salad dressing, popcorn or other foods?
We seem to have a collective hankering for the tangy flavor profile created by mixing vinegar, dill, garlic or other seasonings with fresh vegetables. To flavor your own fresh pickles, try using distilled or apple cider vinegar and flavorings. Many grocery stores now carry a wide array of flavored vinegars, too.
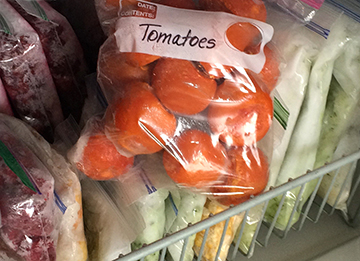
Food preservers can safely pickle cucumbers and other vegetables and process them in a water-bath canner for enjoyment year-round. Always use vinegar with 5% acetic acid when canning pickles. Shelf-stable pickle recipes are available from the National Center for Home Food Preservation: view recipes.
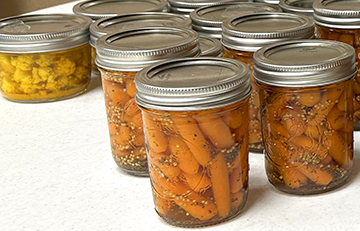
Add a little zest to your menus with this fresh pickle relish.
Peter Piper’s Pickled Pepper Relish with Garlic and Onion (not for canning)
 1¾ cups finely chopped onions
- 2 tablespoons plus 2 teaspoons chopped garlic (about 8-10 cloves)
- ½ cup finely chopped sweet red peppers
- ½ cup finely chopped sweet orange or yellow peppers
- 1 cup finely chopped green peppers
- ½ cup granulated sugar
- 2 cups vinegar, preferably white distilled
- 2 teaspoons canning/pickling salt*
Wash and chop the vegetables. Combine all ingredients into a large pot and boil gently until the mixture thickens and the volume is reduced by one-half (about 30 minutes). Heat jars in boiling water, and fill jars with hot relish. (This heating step will help keep the vegetables fresh, but does not allow you to store in your cupboard.)
*Using canning/pickling salt helps prevent cloudiness that may develop if iodized salt is used.
Note: Store in the refrigerator and use within one month. Use it as a topping for burgers, chicken or sausage.
Makes 48 2-tablespoon servings. One serving has 45 calories, 0 g fat, 0 g protein, 11 g carbohydrate, 0 g fiber and 88 mg sodium.